许久没有写一些博文了,请原谅我,因为生活比较单调,加上最近有一些抑郁的情绪,目前仍然在调整当中。虽然生活千篇一律,但是偶尔也是有出去晒太阳的,也是有好好生活的。
我最近拍了很多的胶片,于是打算放到这里来,让大家看看~
正文
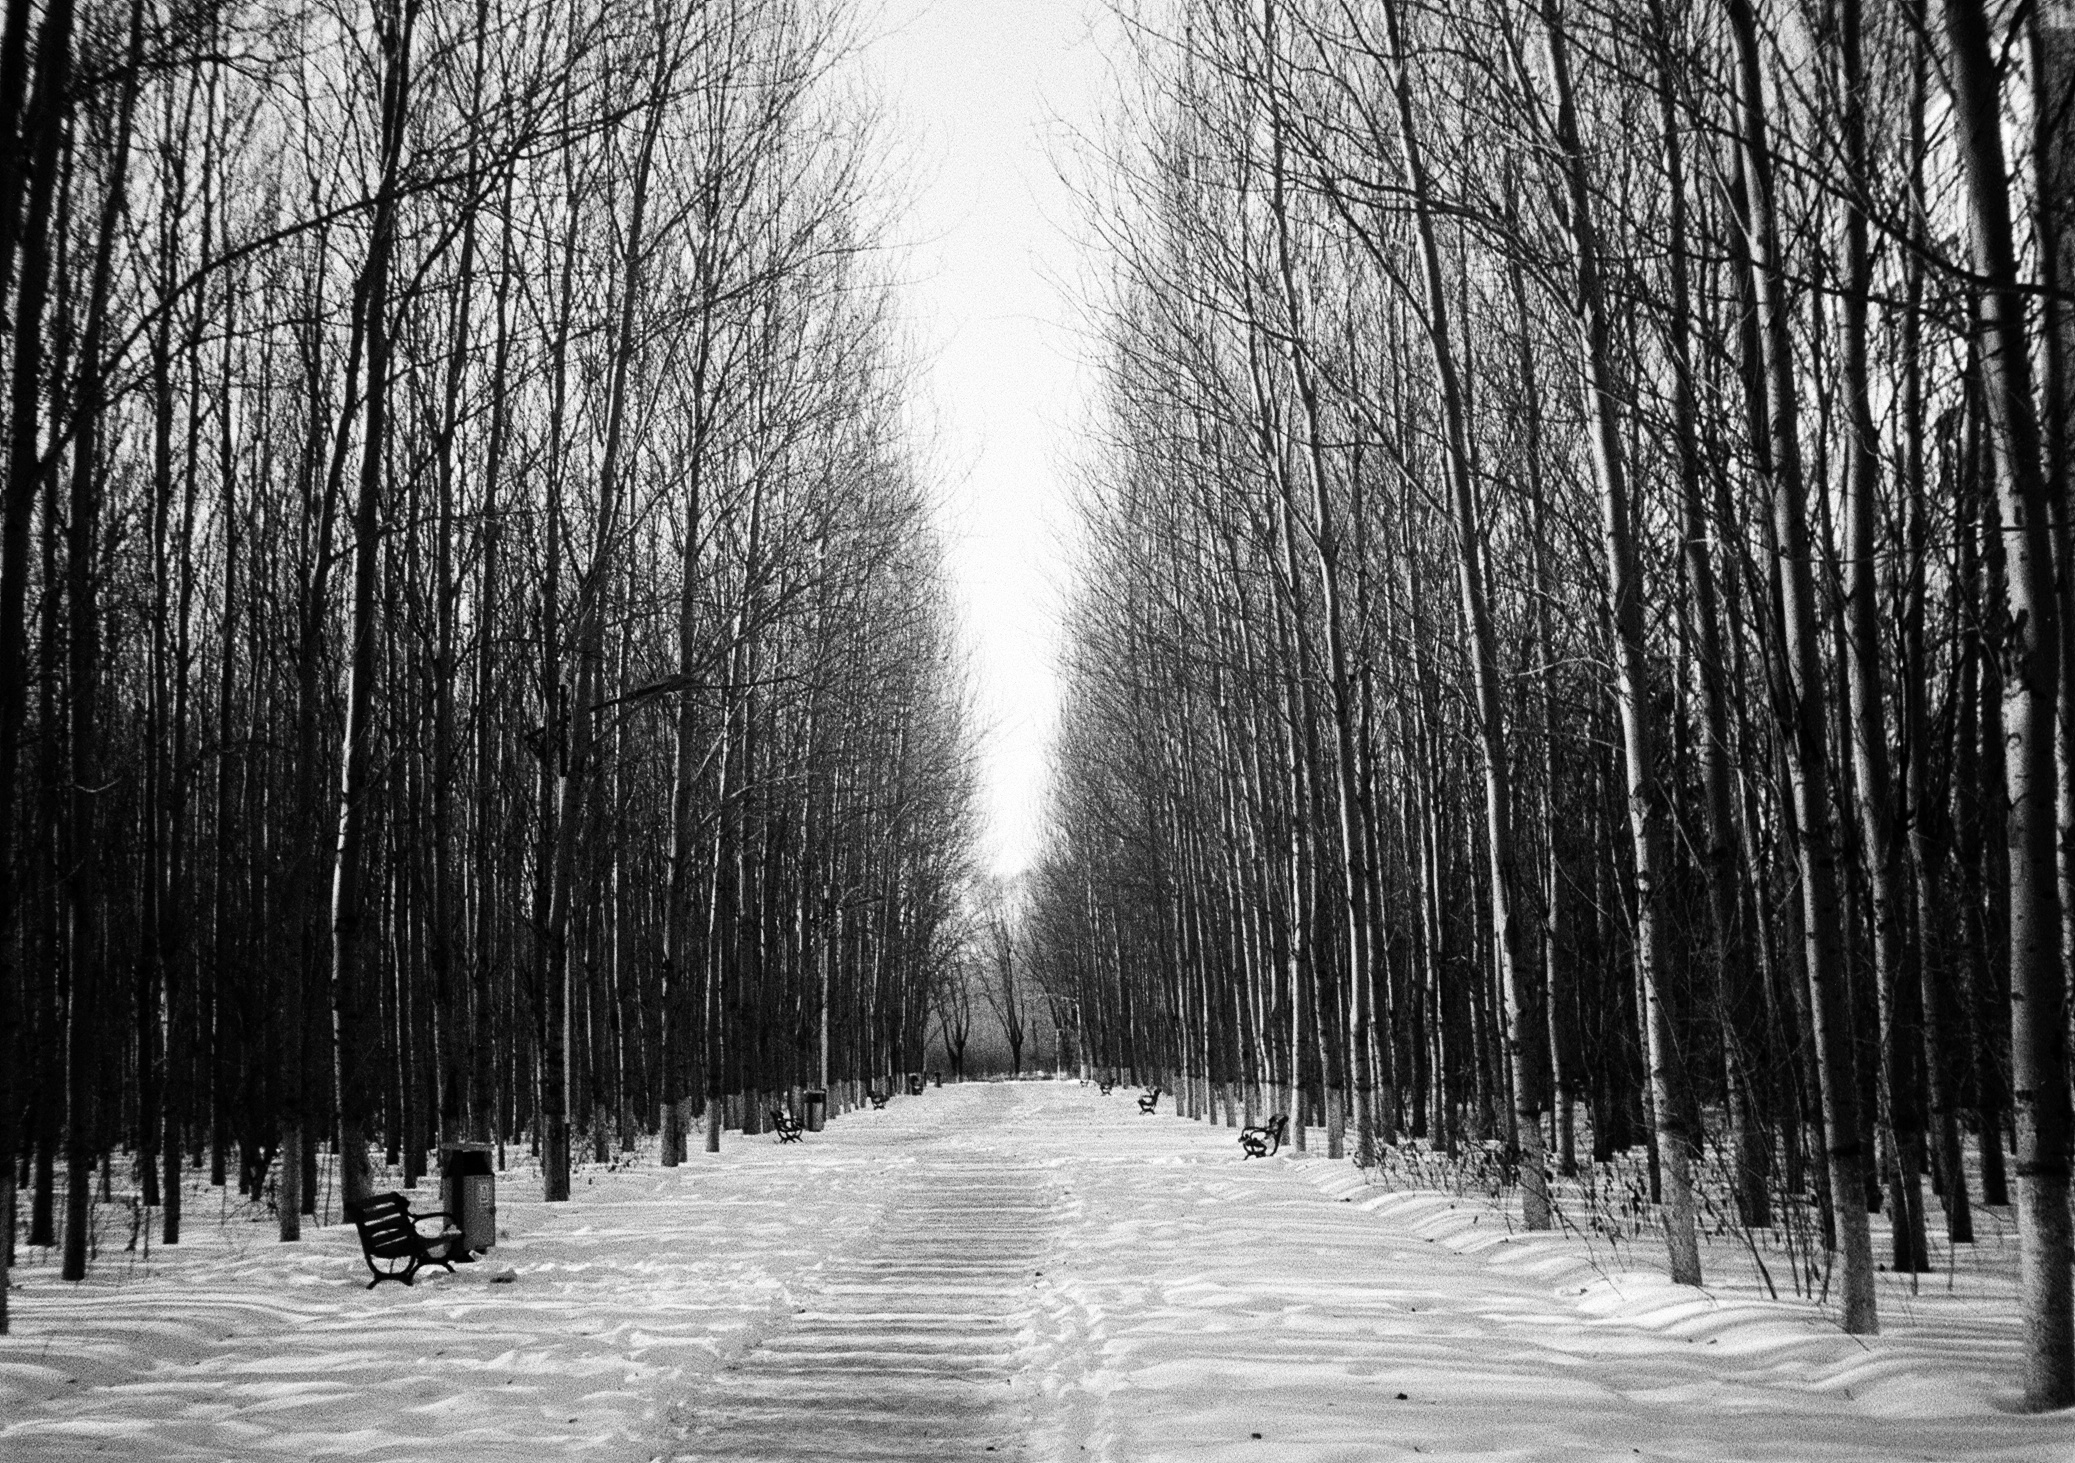
这是一个用半幅胶片机拍摄的,黑白的负片,加上半格画幅带来的画质损失,使得这幅照片拥有一种恰到好处的感觉。拍摄的时间是哈尔滨的冬季,可以看到路上都是雪,周围的树木也光秃秃的,黑白拍摄树枝有时候会很杂乱,但是这幅照片倒还好。
这张照片是我的第一卷胶片,当时买了 Canon Demi 初代半格相机,寻思着玩一玩吧,结果一发不可收拾!拿着这台相机在学校到处拍摄,从那时候开始,我彻底爱上了胶片。胶片是一种延迟的体验,一卷胶卷大约能拍32张,而半格则更多了(画幅相对于135mm裁切了一半),也就是需要拍满72张才能取下胶卷,而且拍完无法立即查看,需要送给冲洗店老板冲扫,这又往往还需等待一个礼拜的时间。
通过胶片,我记录下的照片常常成为我生活的缩影,它介于严肃与不严肃之间,而其本身的质感往往让人感到温暖和怀旧,我后面又陆陆续续买了 佳能 QL17 旁轴、佳能 kiss 1单反、佳能 eos55 单反等,就我而言,单反相对更加容易掌控,其功能与镜头的选择也更加丰富。
与现代相机一样,胶片相机也需要在拍摄时选择光圈,需要权衡景深的大小,而慢速快门则要考虑画面是否会受到抖动的影响,不同的是一旦按下快门则无法修改,一张底片就此定格。
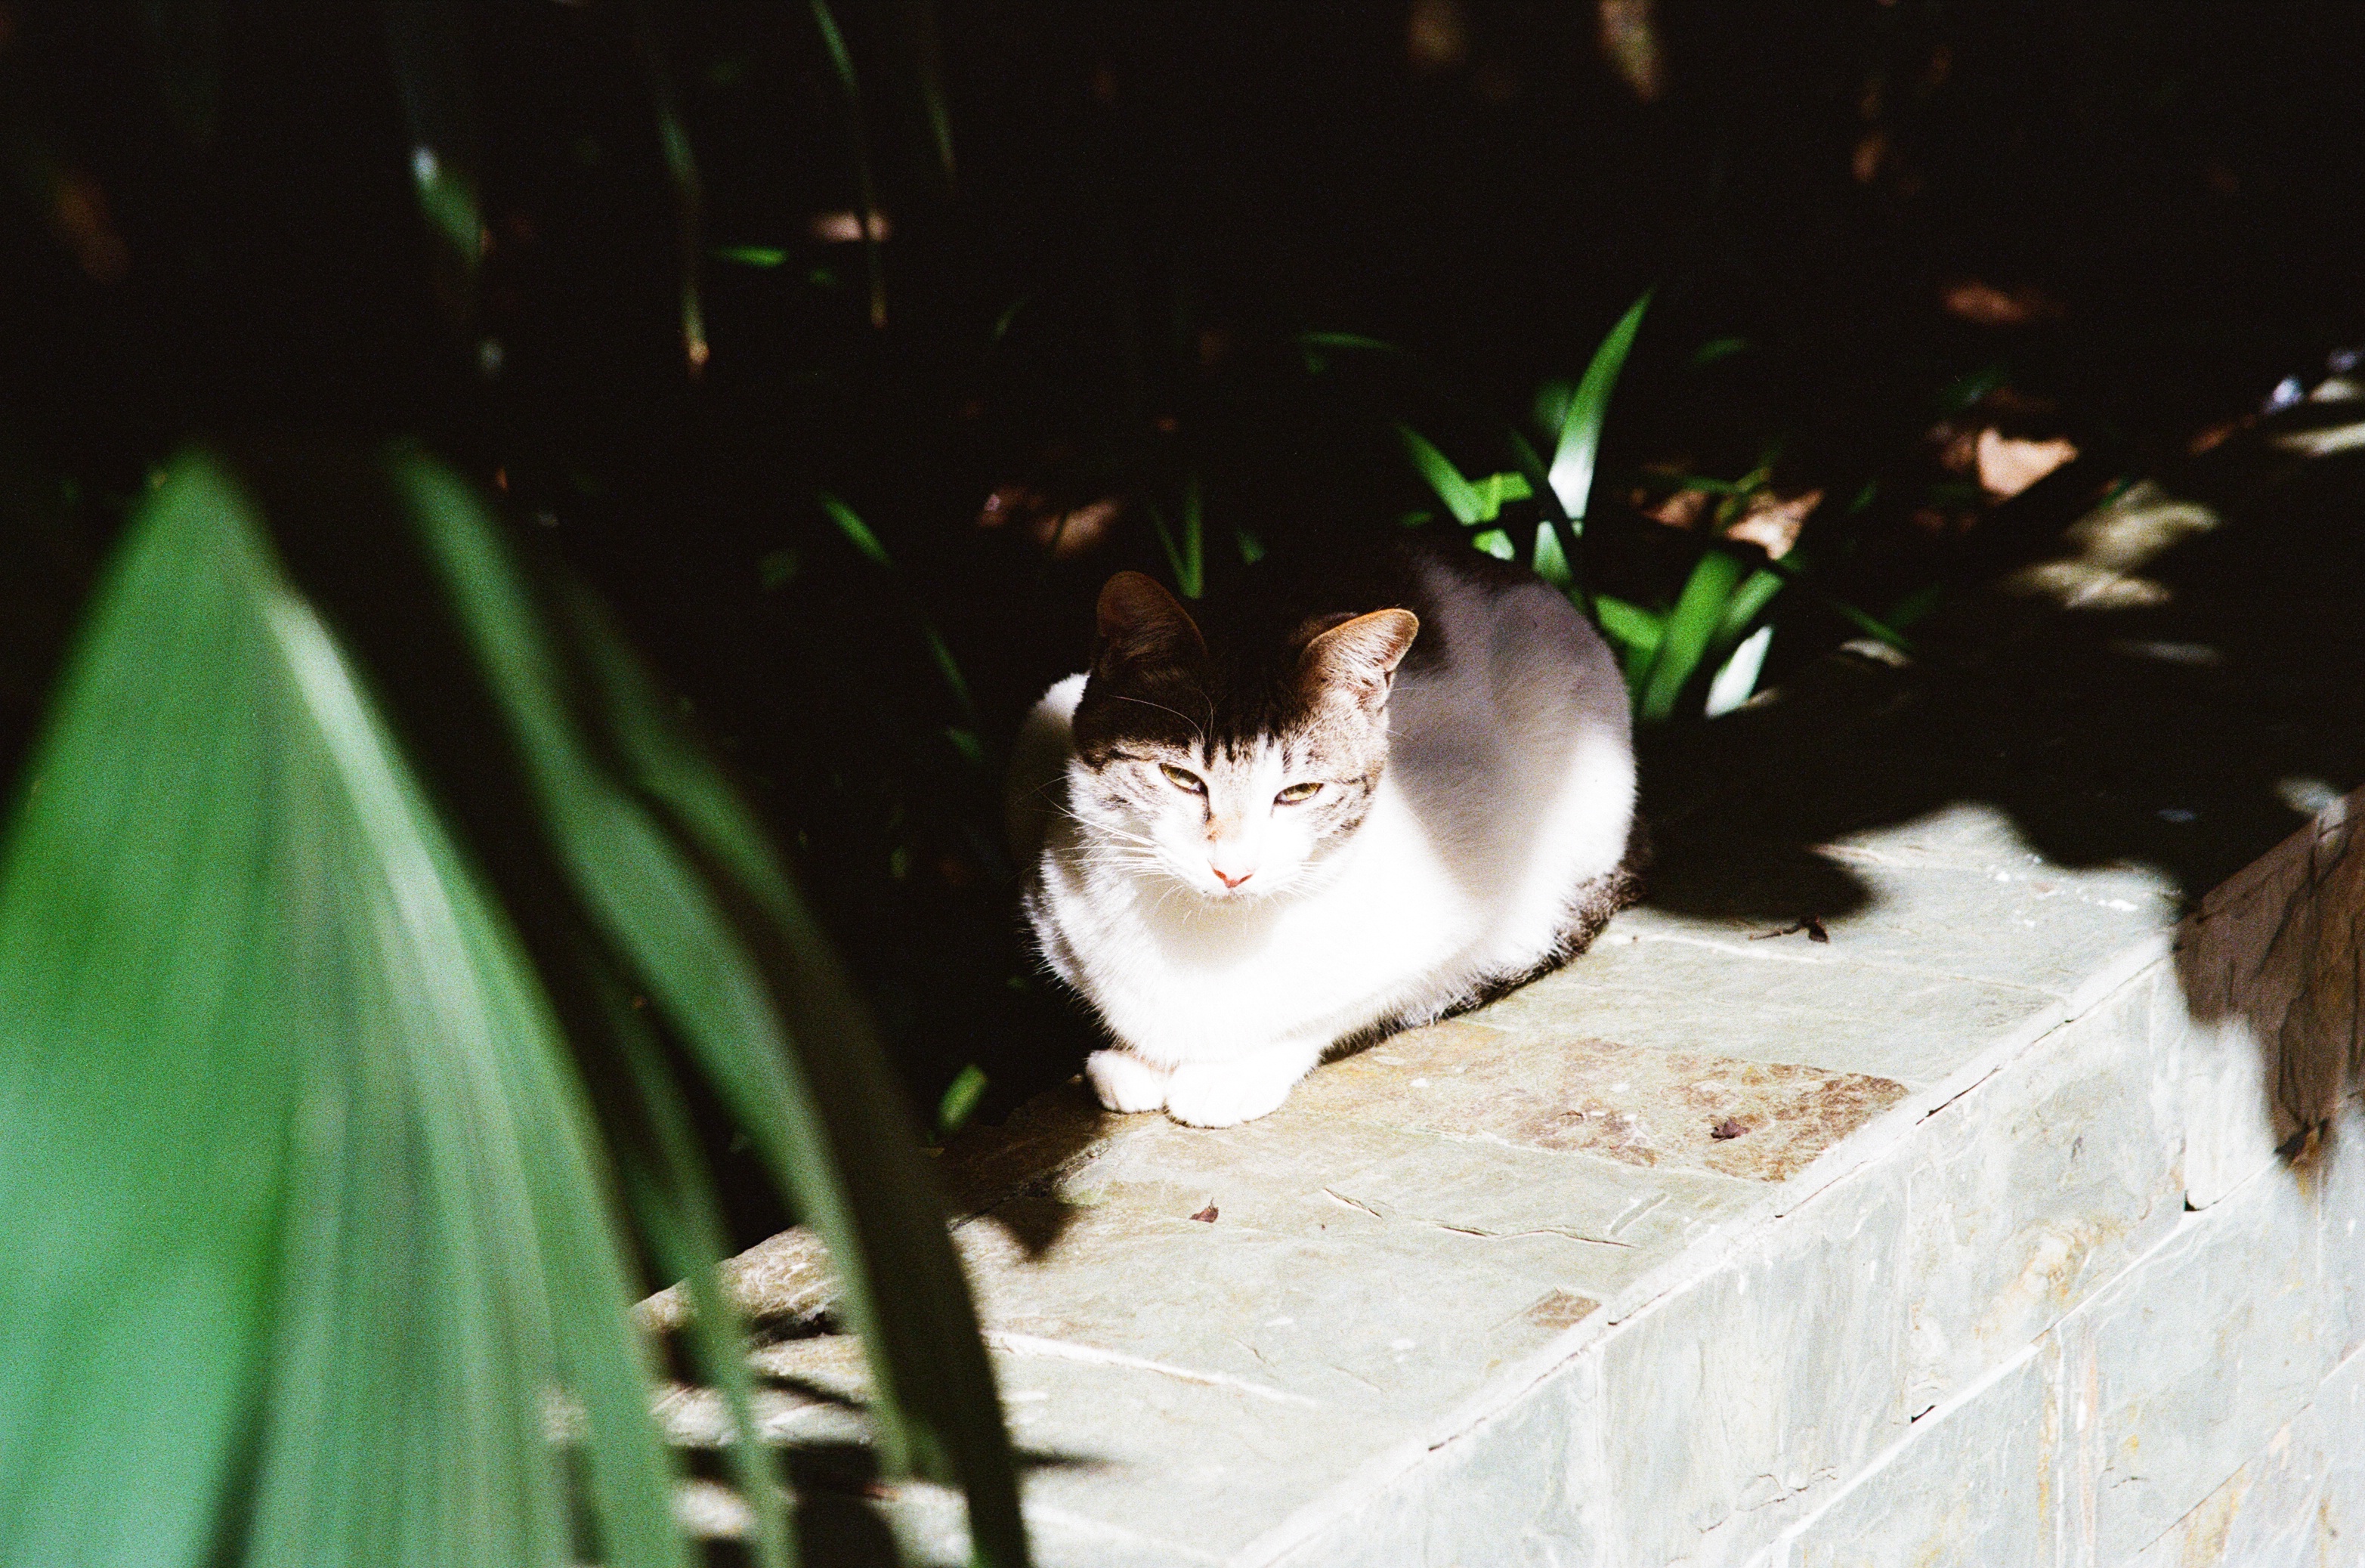
下面这张图的猫猫很可爱的,当时我走过去的时候它主动地帖帖我了,或许是想要我给他挠痒,围着我走了一圈,然后贴在我的鞋边!我怎么能抗拒得了这样的诱惑呢!我充分地挠了挠它的猫猫头后,它也享受地走开了,之后我便去其他地方了,再回来就看到它在边躲太阳边休息。
于是我立马掏出了相机,幸好我有 28-105 的变焦镜头,不用靠得特别近也能拍摄。虽说猫猫看起来很可爱,但它们可听不懂我们人类的话,靠得太近了,惹恼了它可就不愉快了,索性就在不远处保持着距离拍摄。
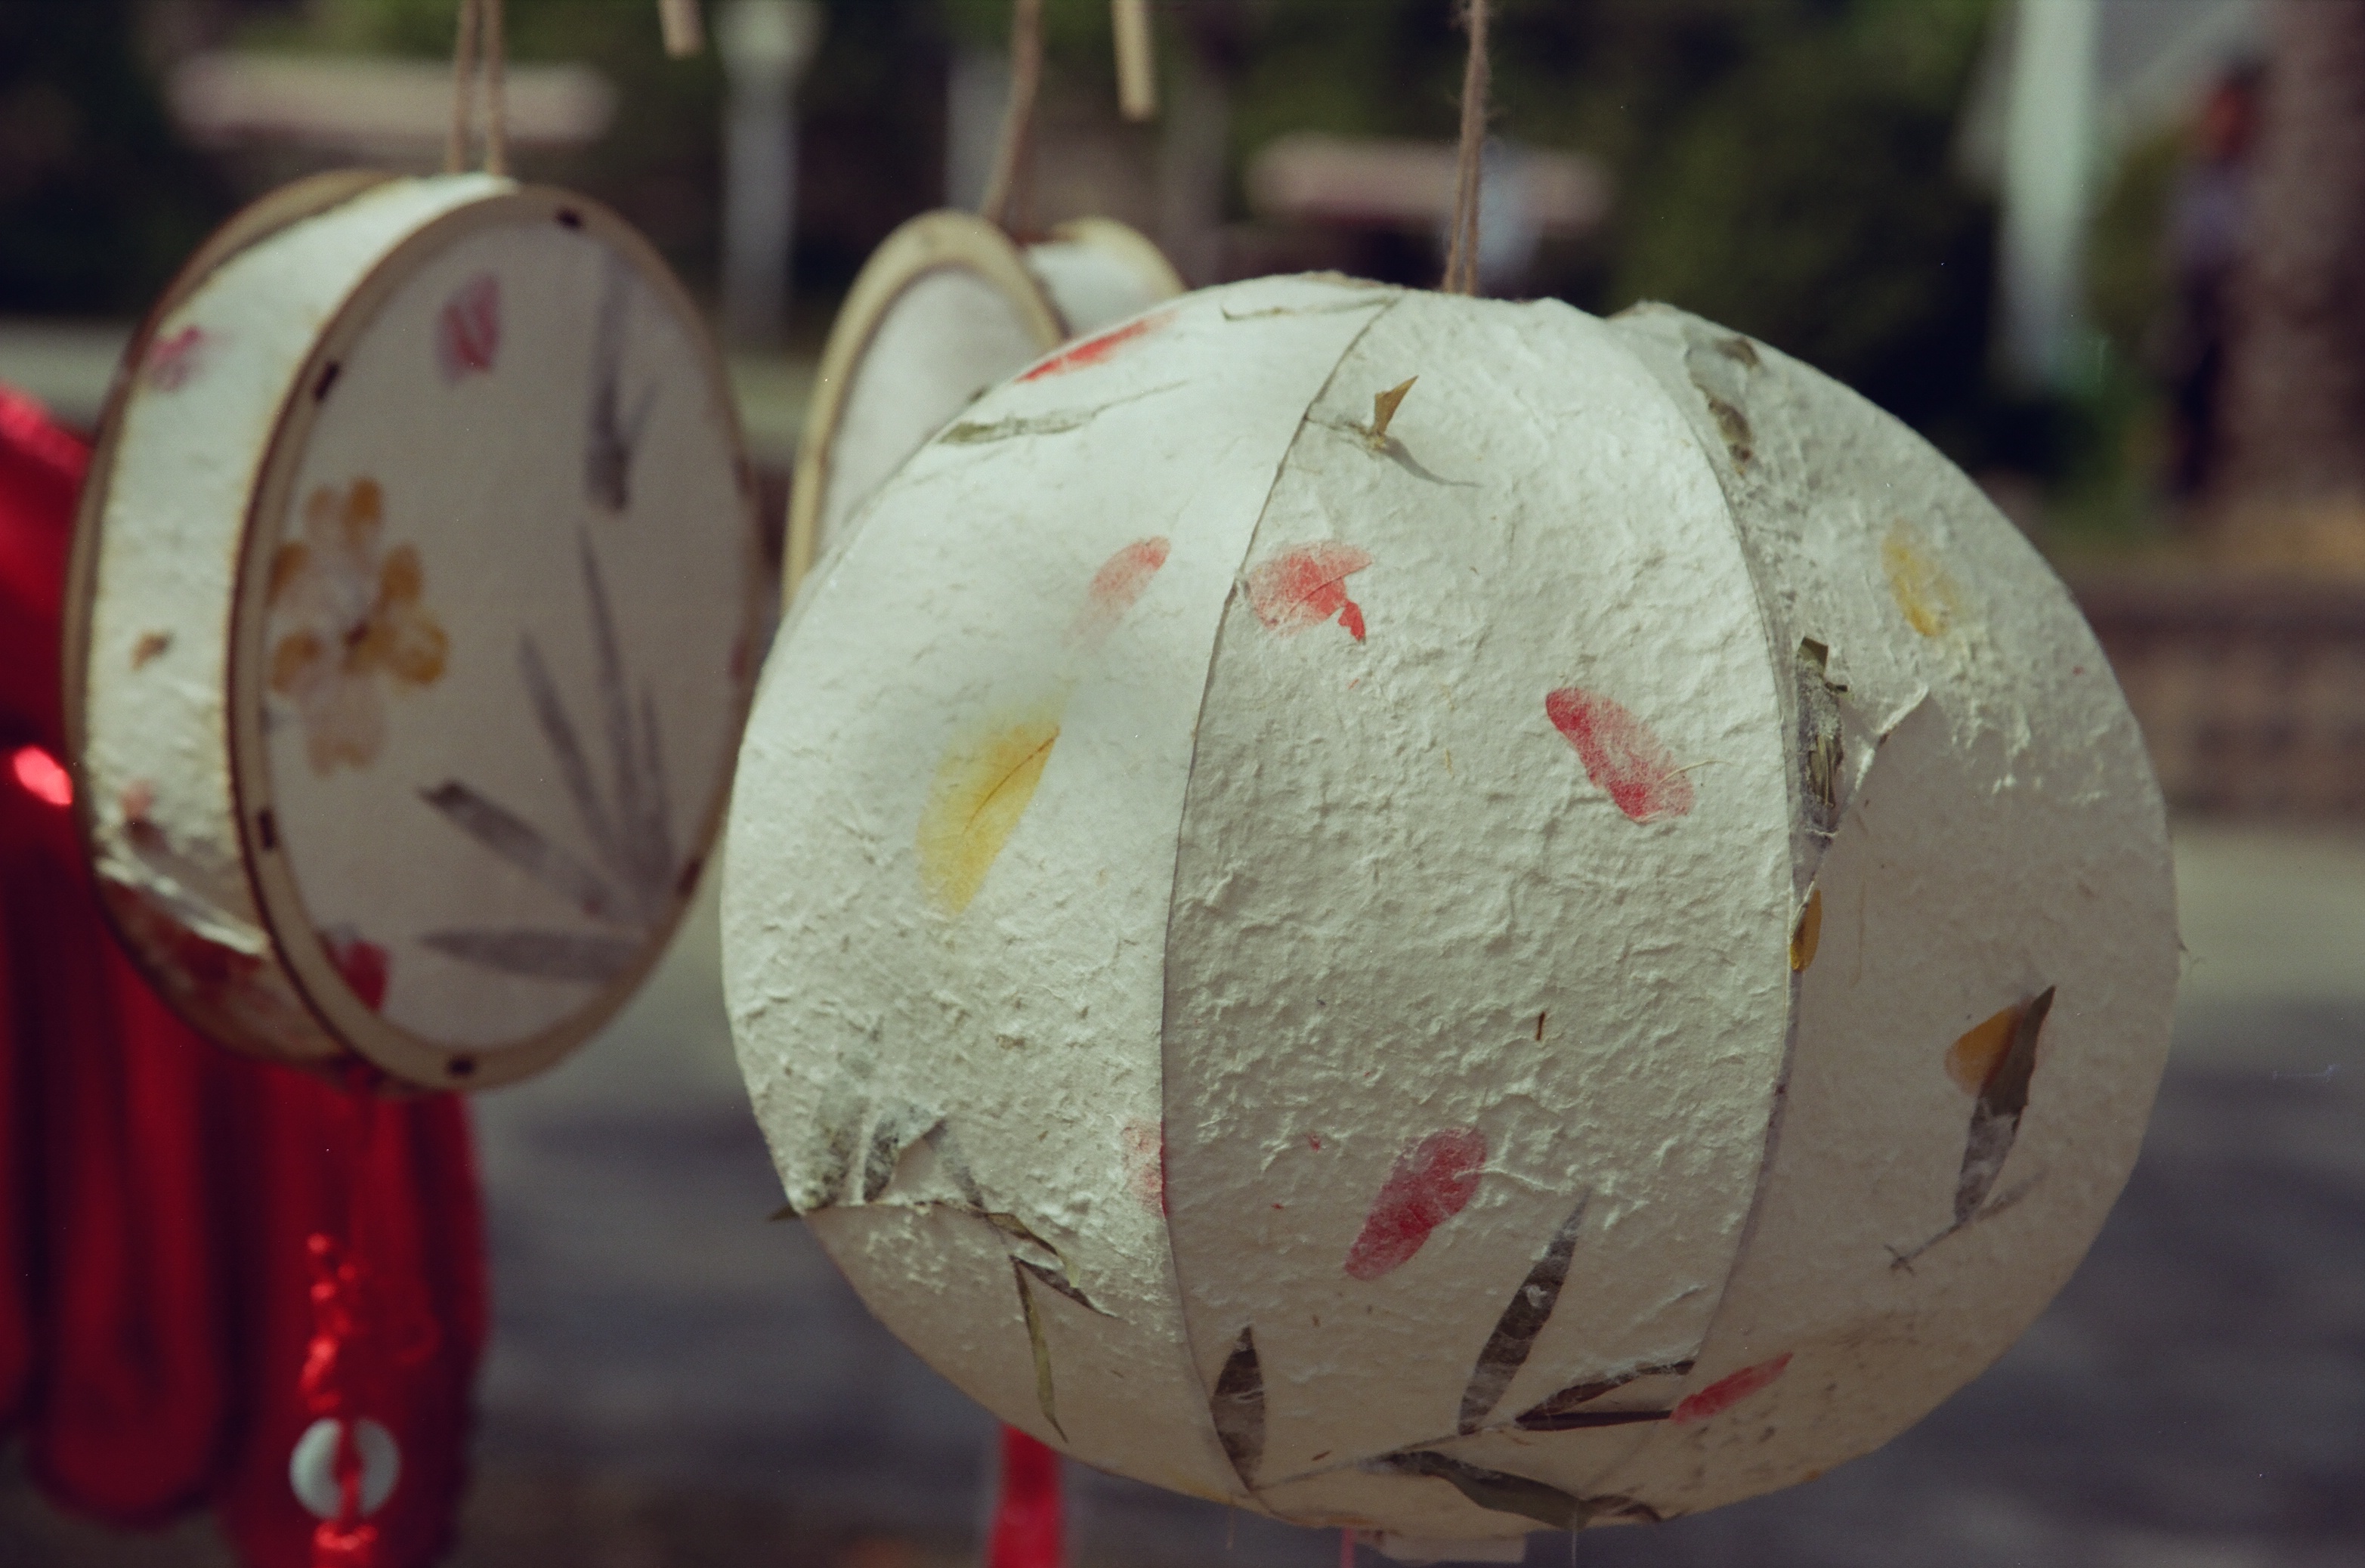
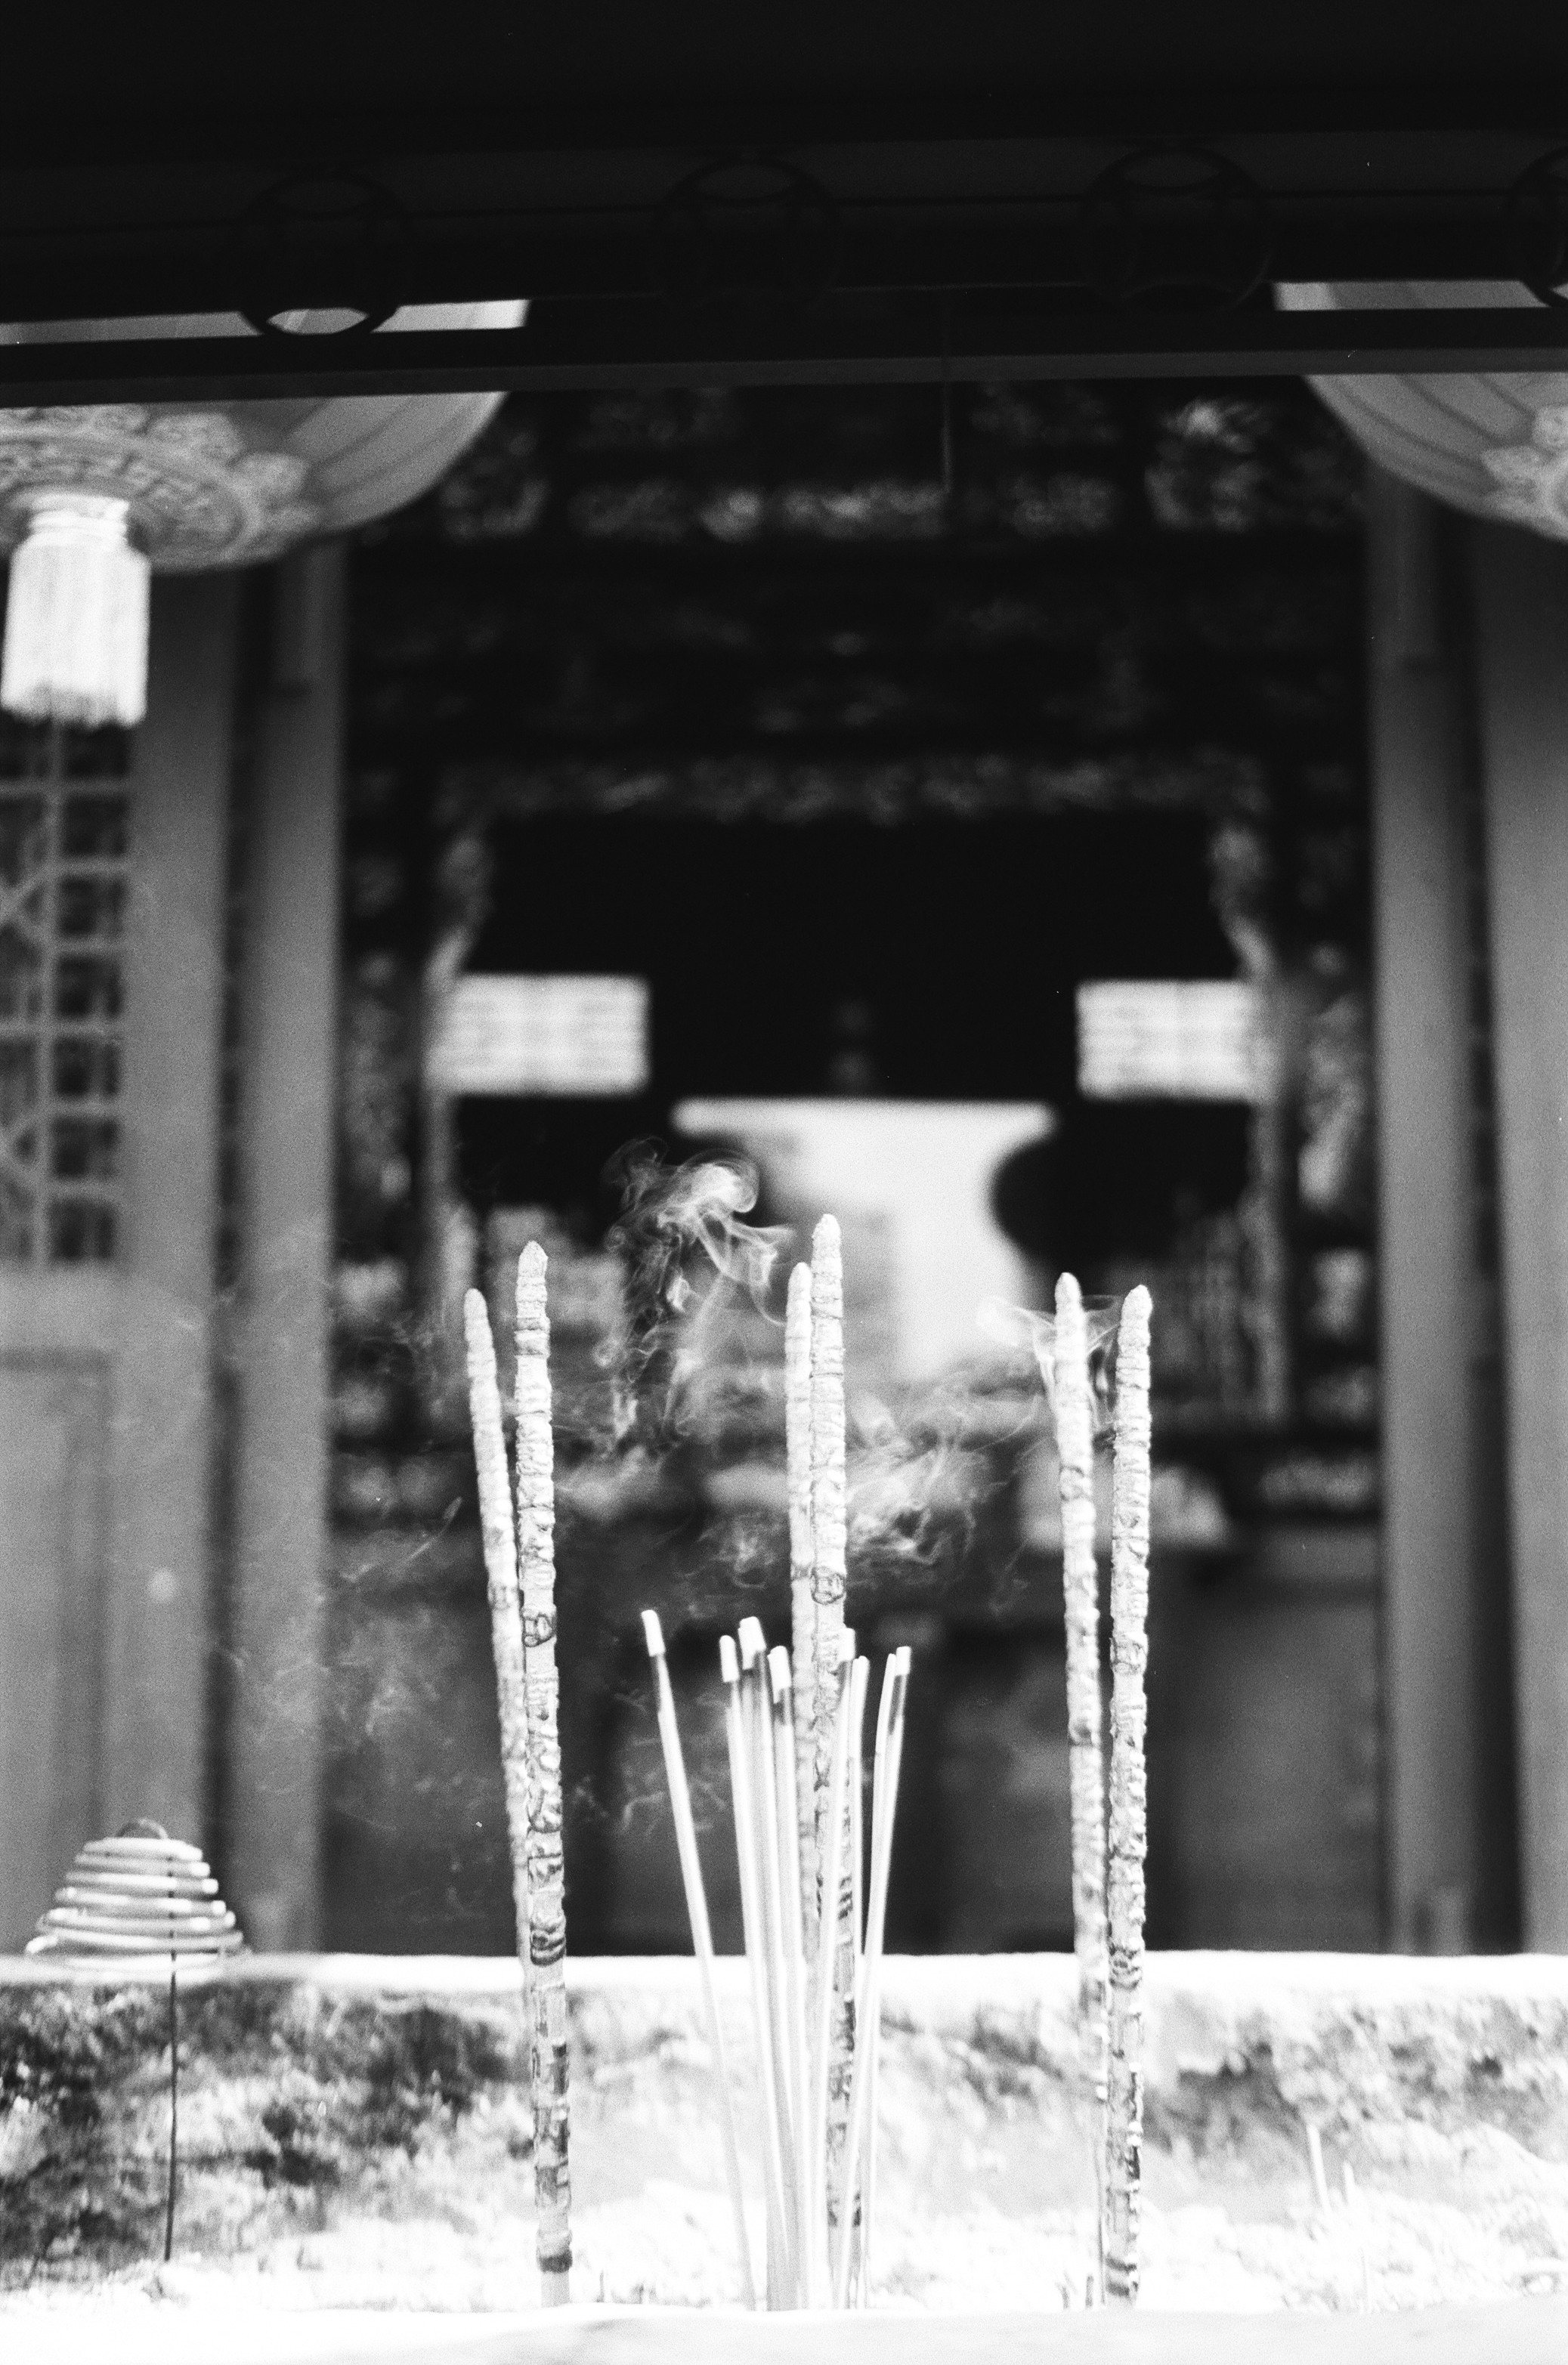
小灯笼和小狮子
虚化带来的好处就是主体很清晰,消除背景细节,可以营造出更为干净、简洁的画面
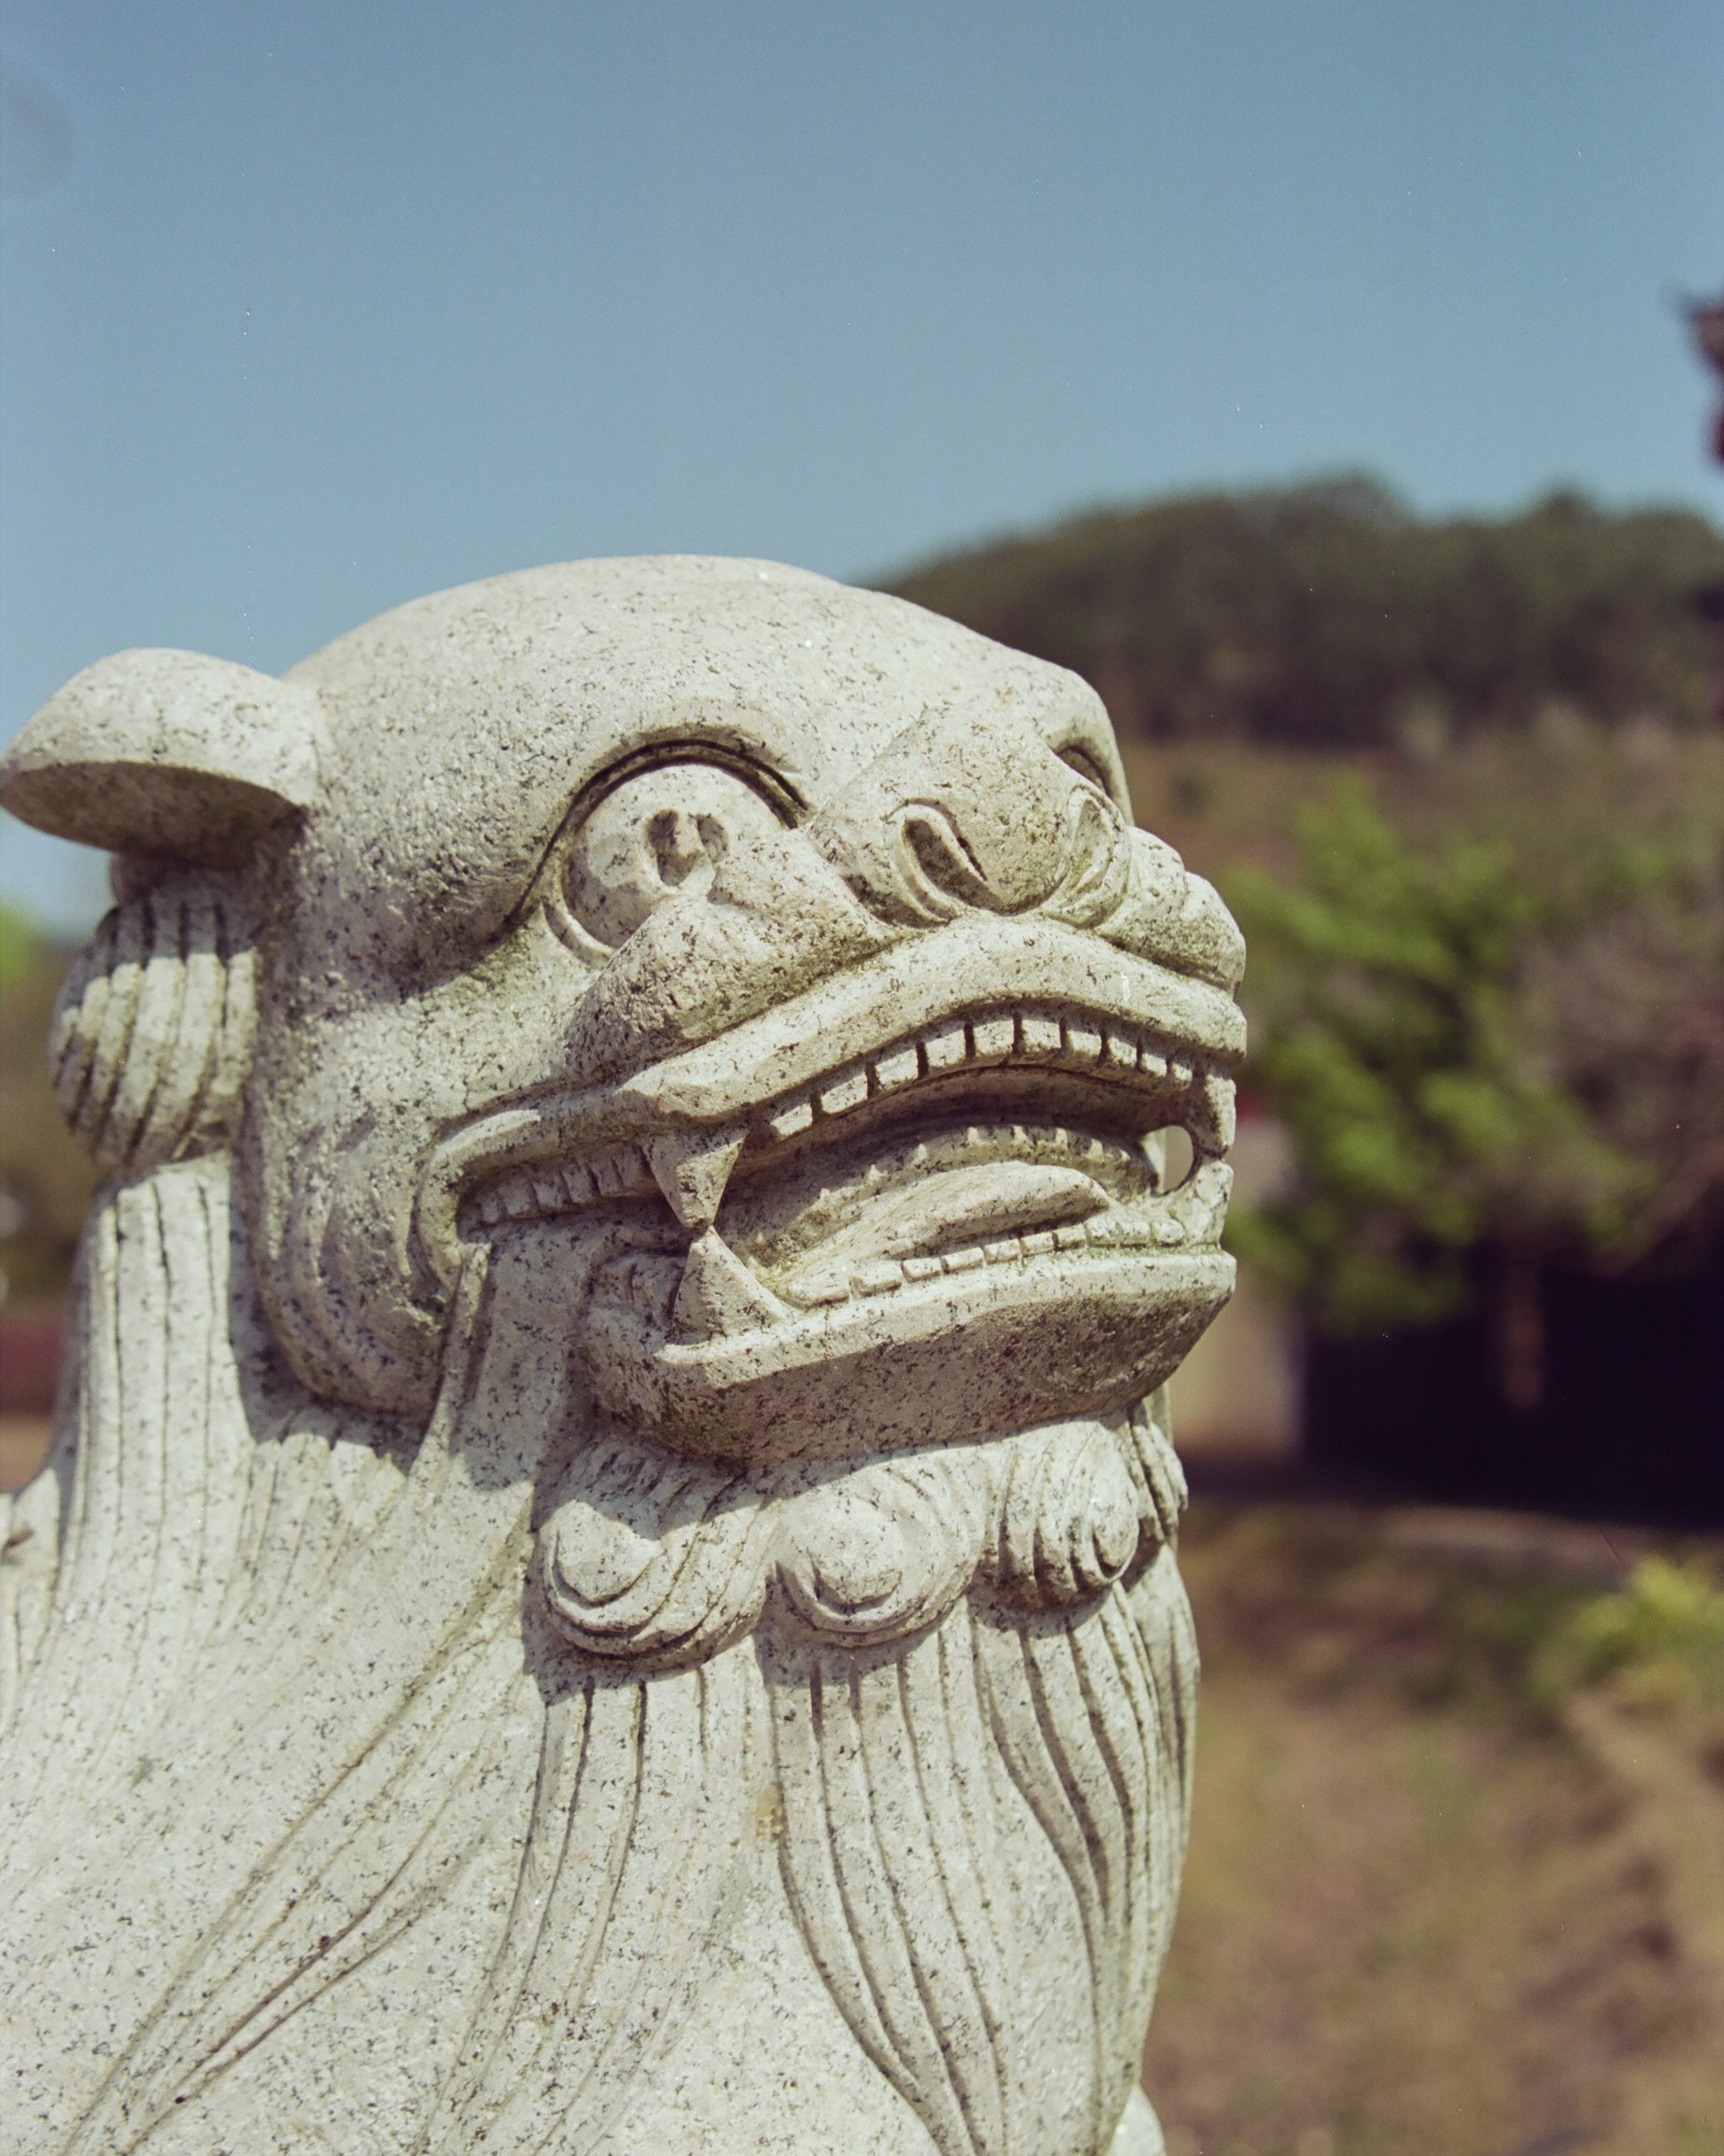
这张是在龙母庙拍的,主要是测试一下我新买的镜头 40mm 2.8 光圈全开的虚化效果 。
这张是半格机拍的, ILFORD PAN 100 好歹也是 100 感光度的胶卷了,但是拍出来还是出现了很明显的颗粒。难道半格相机还得使用 ISO 50 的 5203 拍摄会比较好吗?但是这又出现了一个问题,demi是估焦的,拍摄近物时,往往需要缩小光圈以达到超焦距的效果,然而使用 50 ISO后,便不太能使用小光圈了,因为这可能会导致画面抖动或者欠曝,真是难以抉择呢。

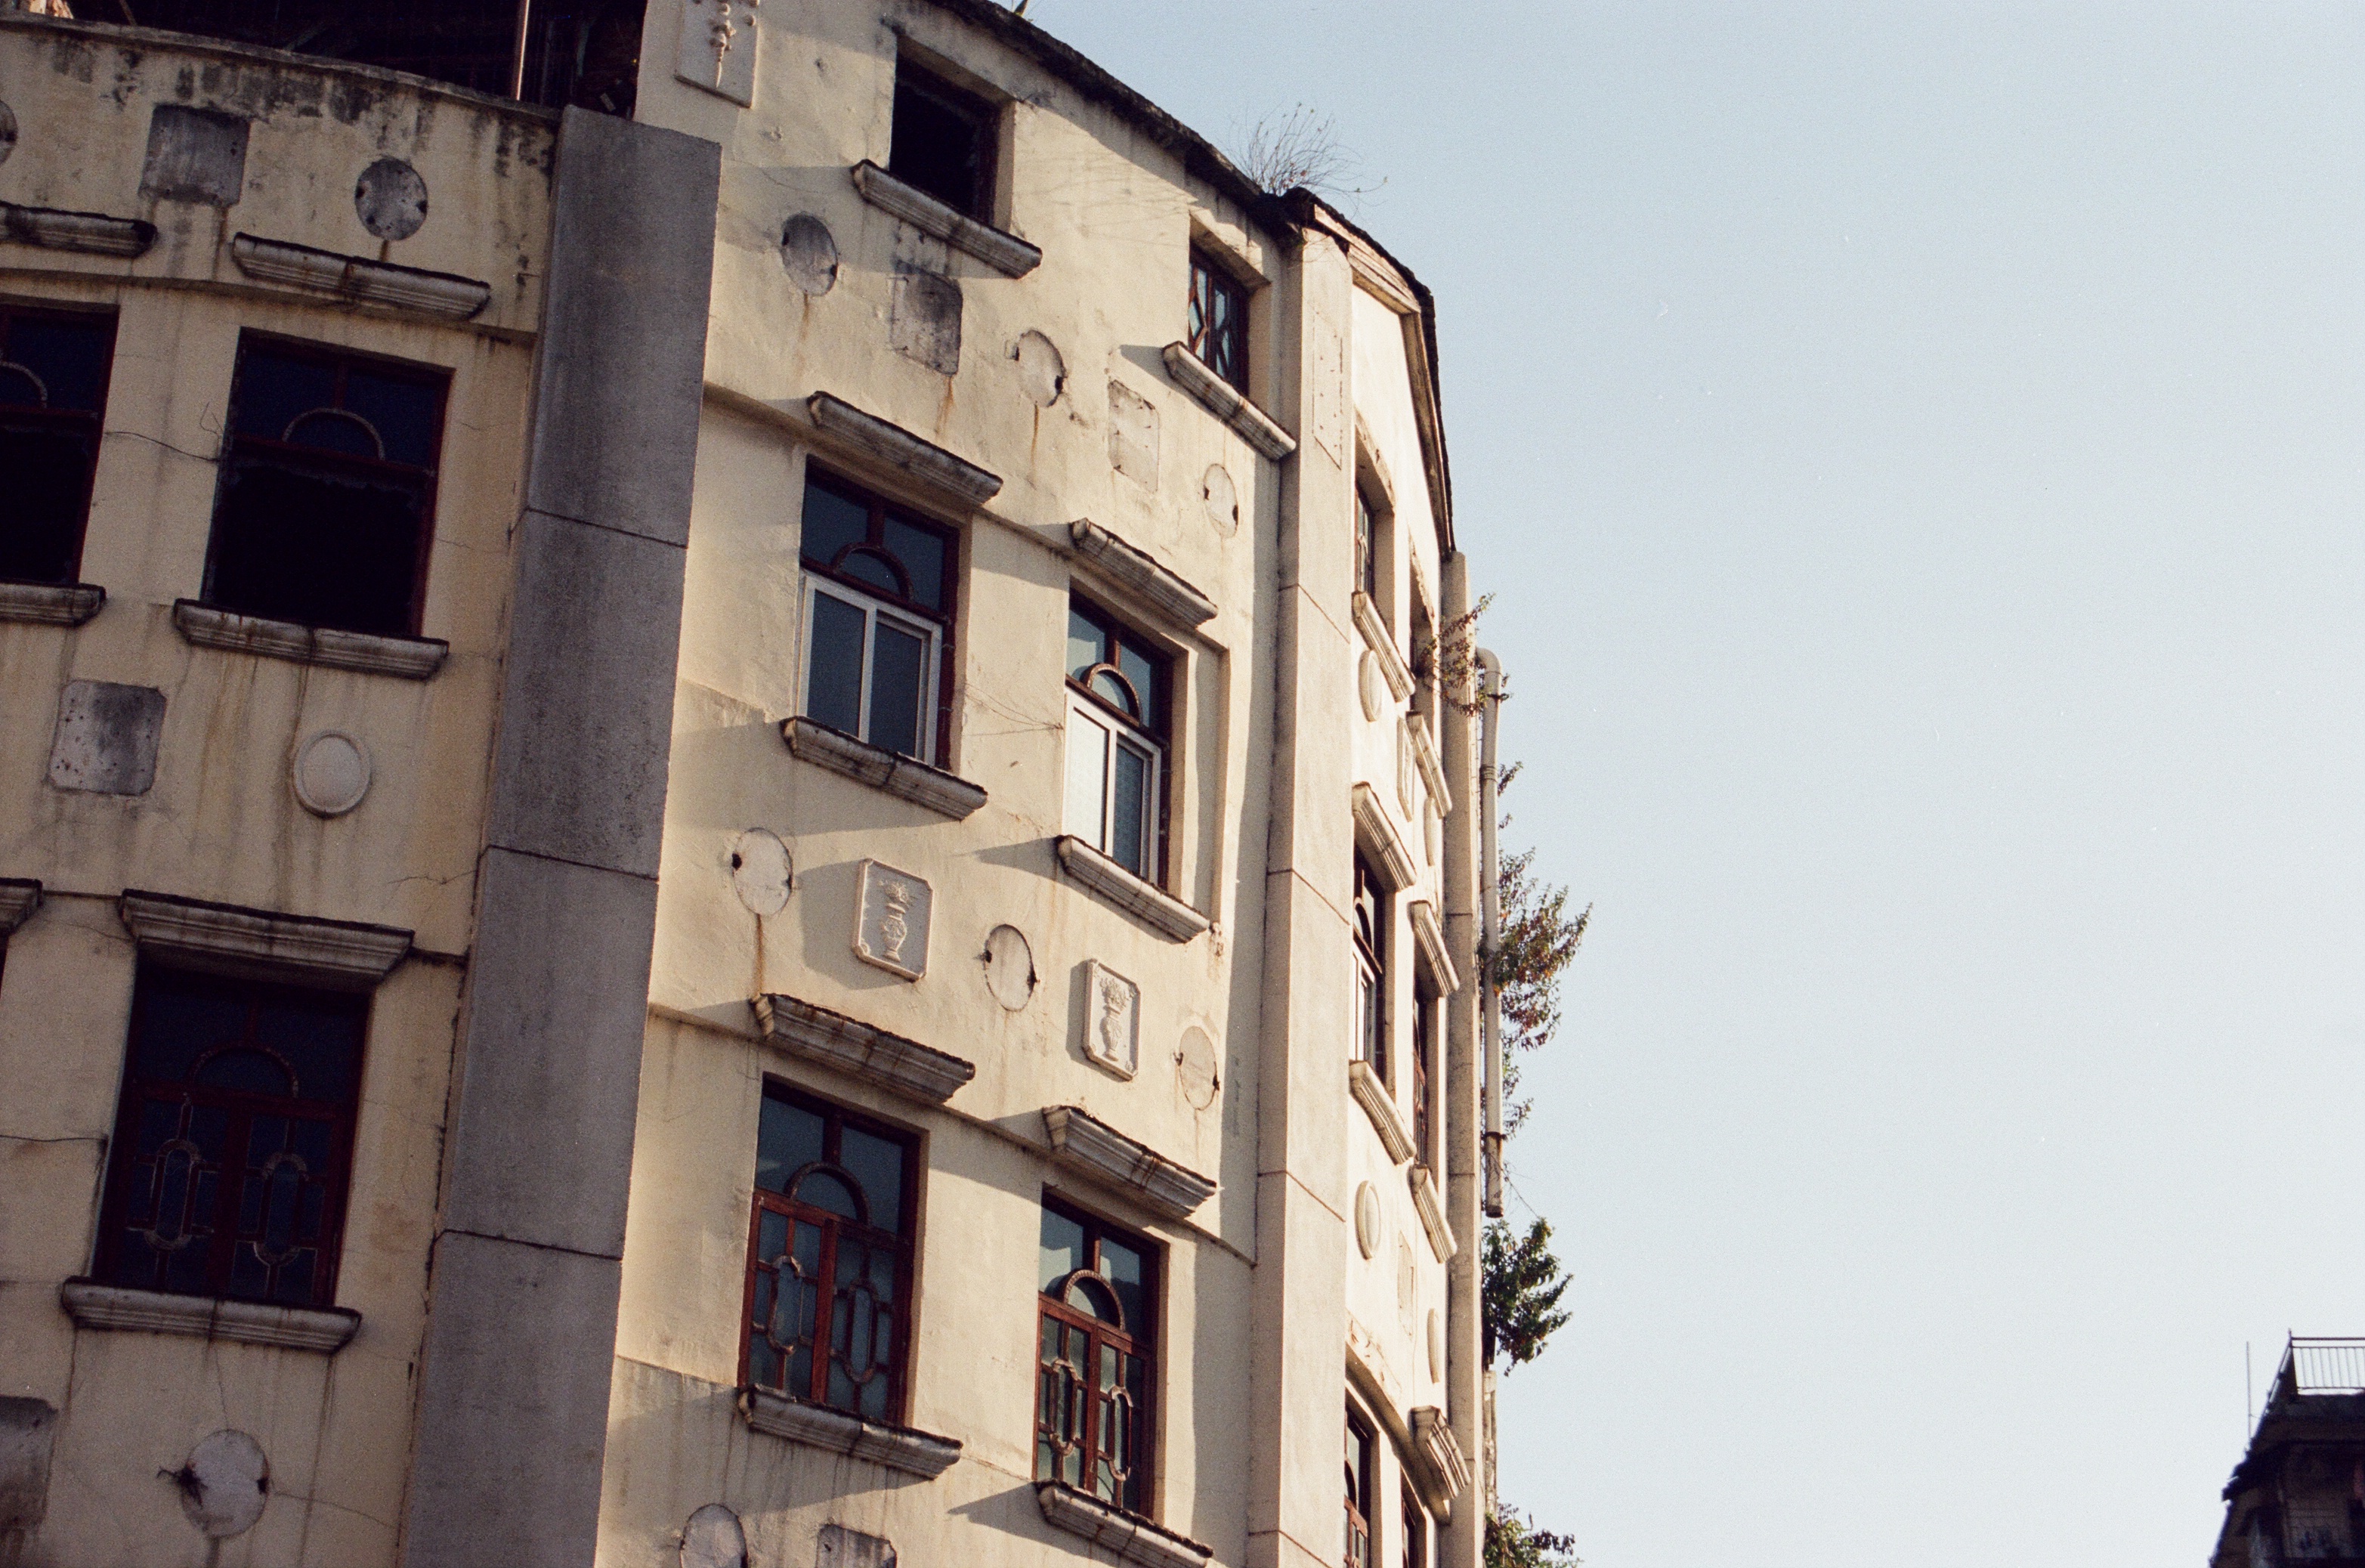
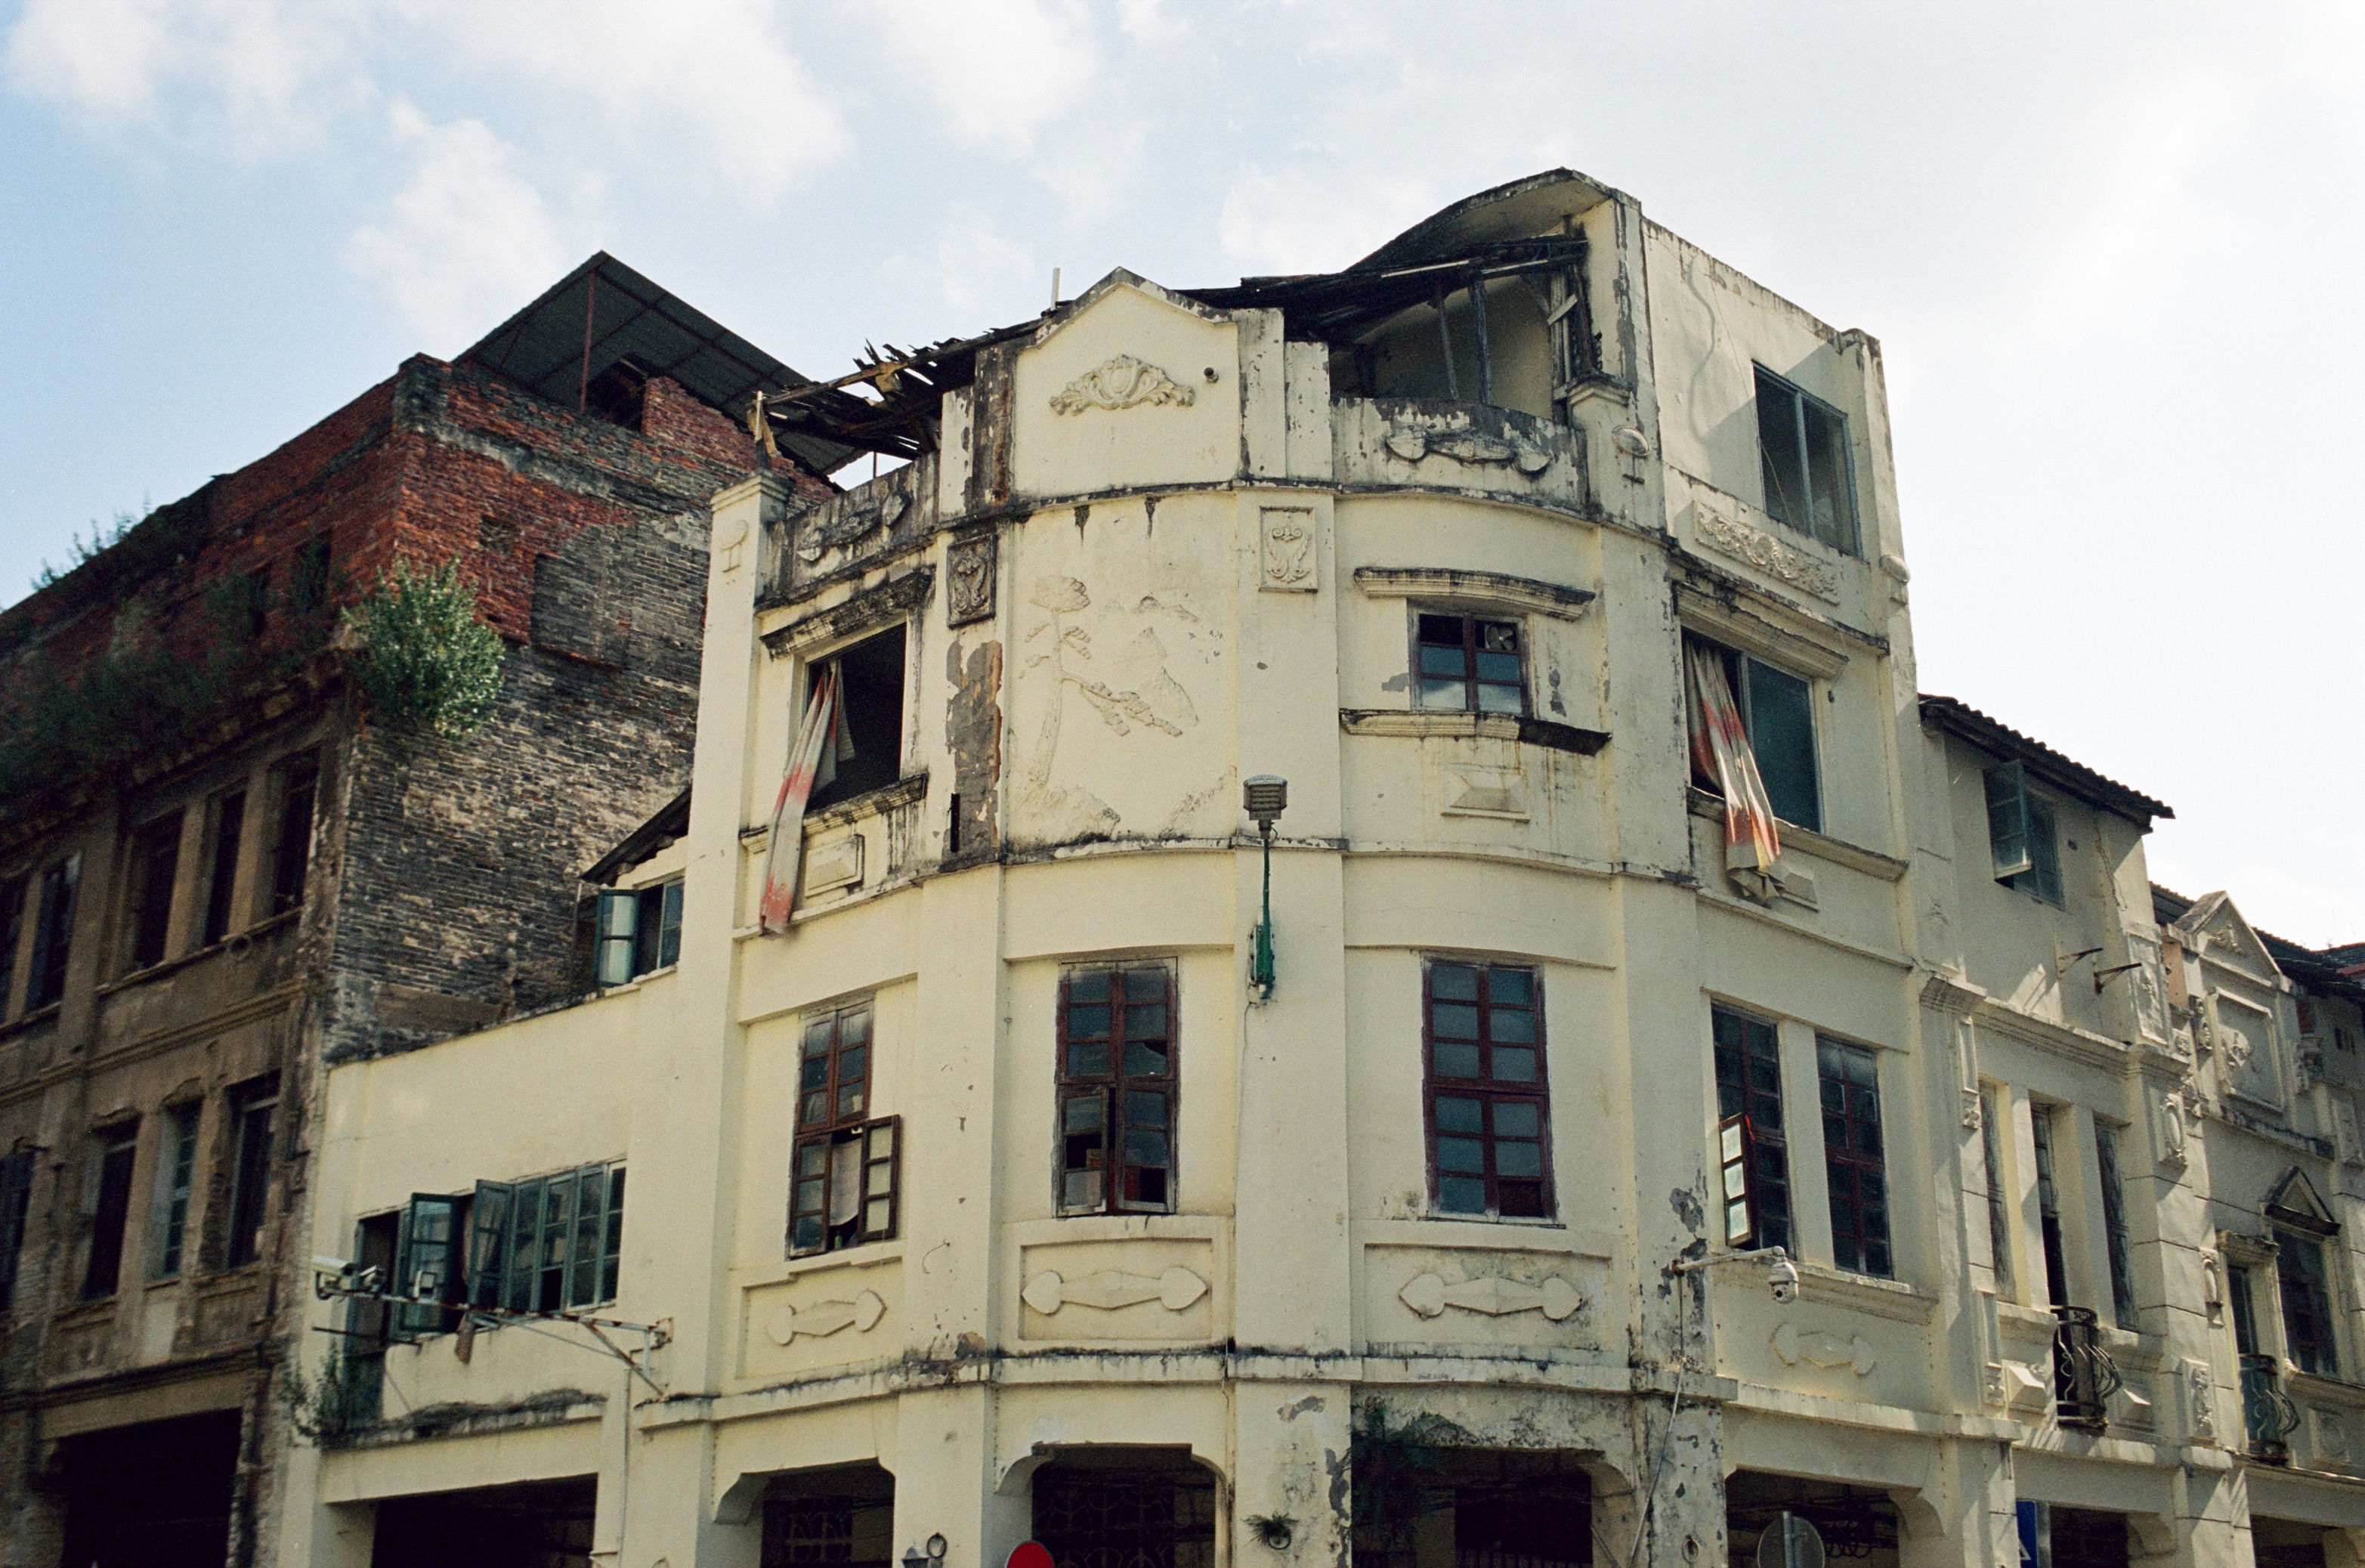
接下来的这三张,是我家城市的骑楼城,梧州的河东许多的老建筑特别有历史的底蕴,我很喜欢在这里拍摄黑白的照片,当然彩色的照片也非常好看,有一种不一样的质感。
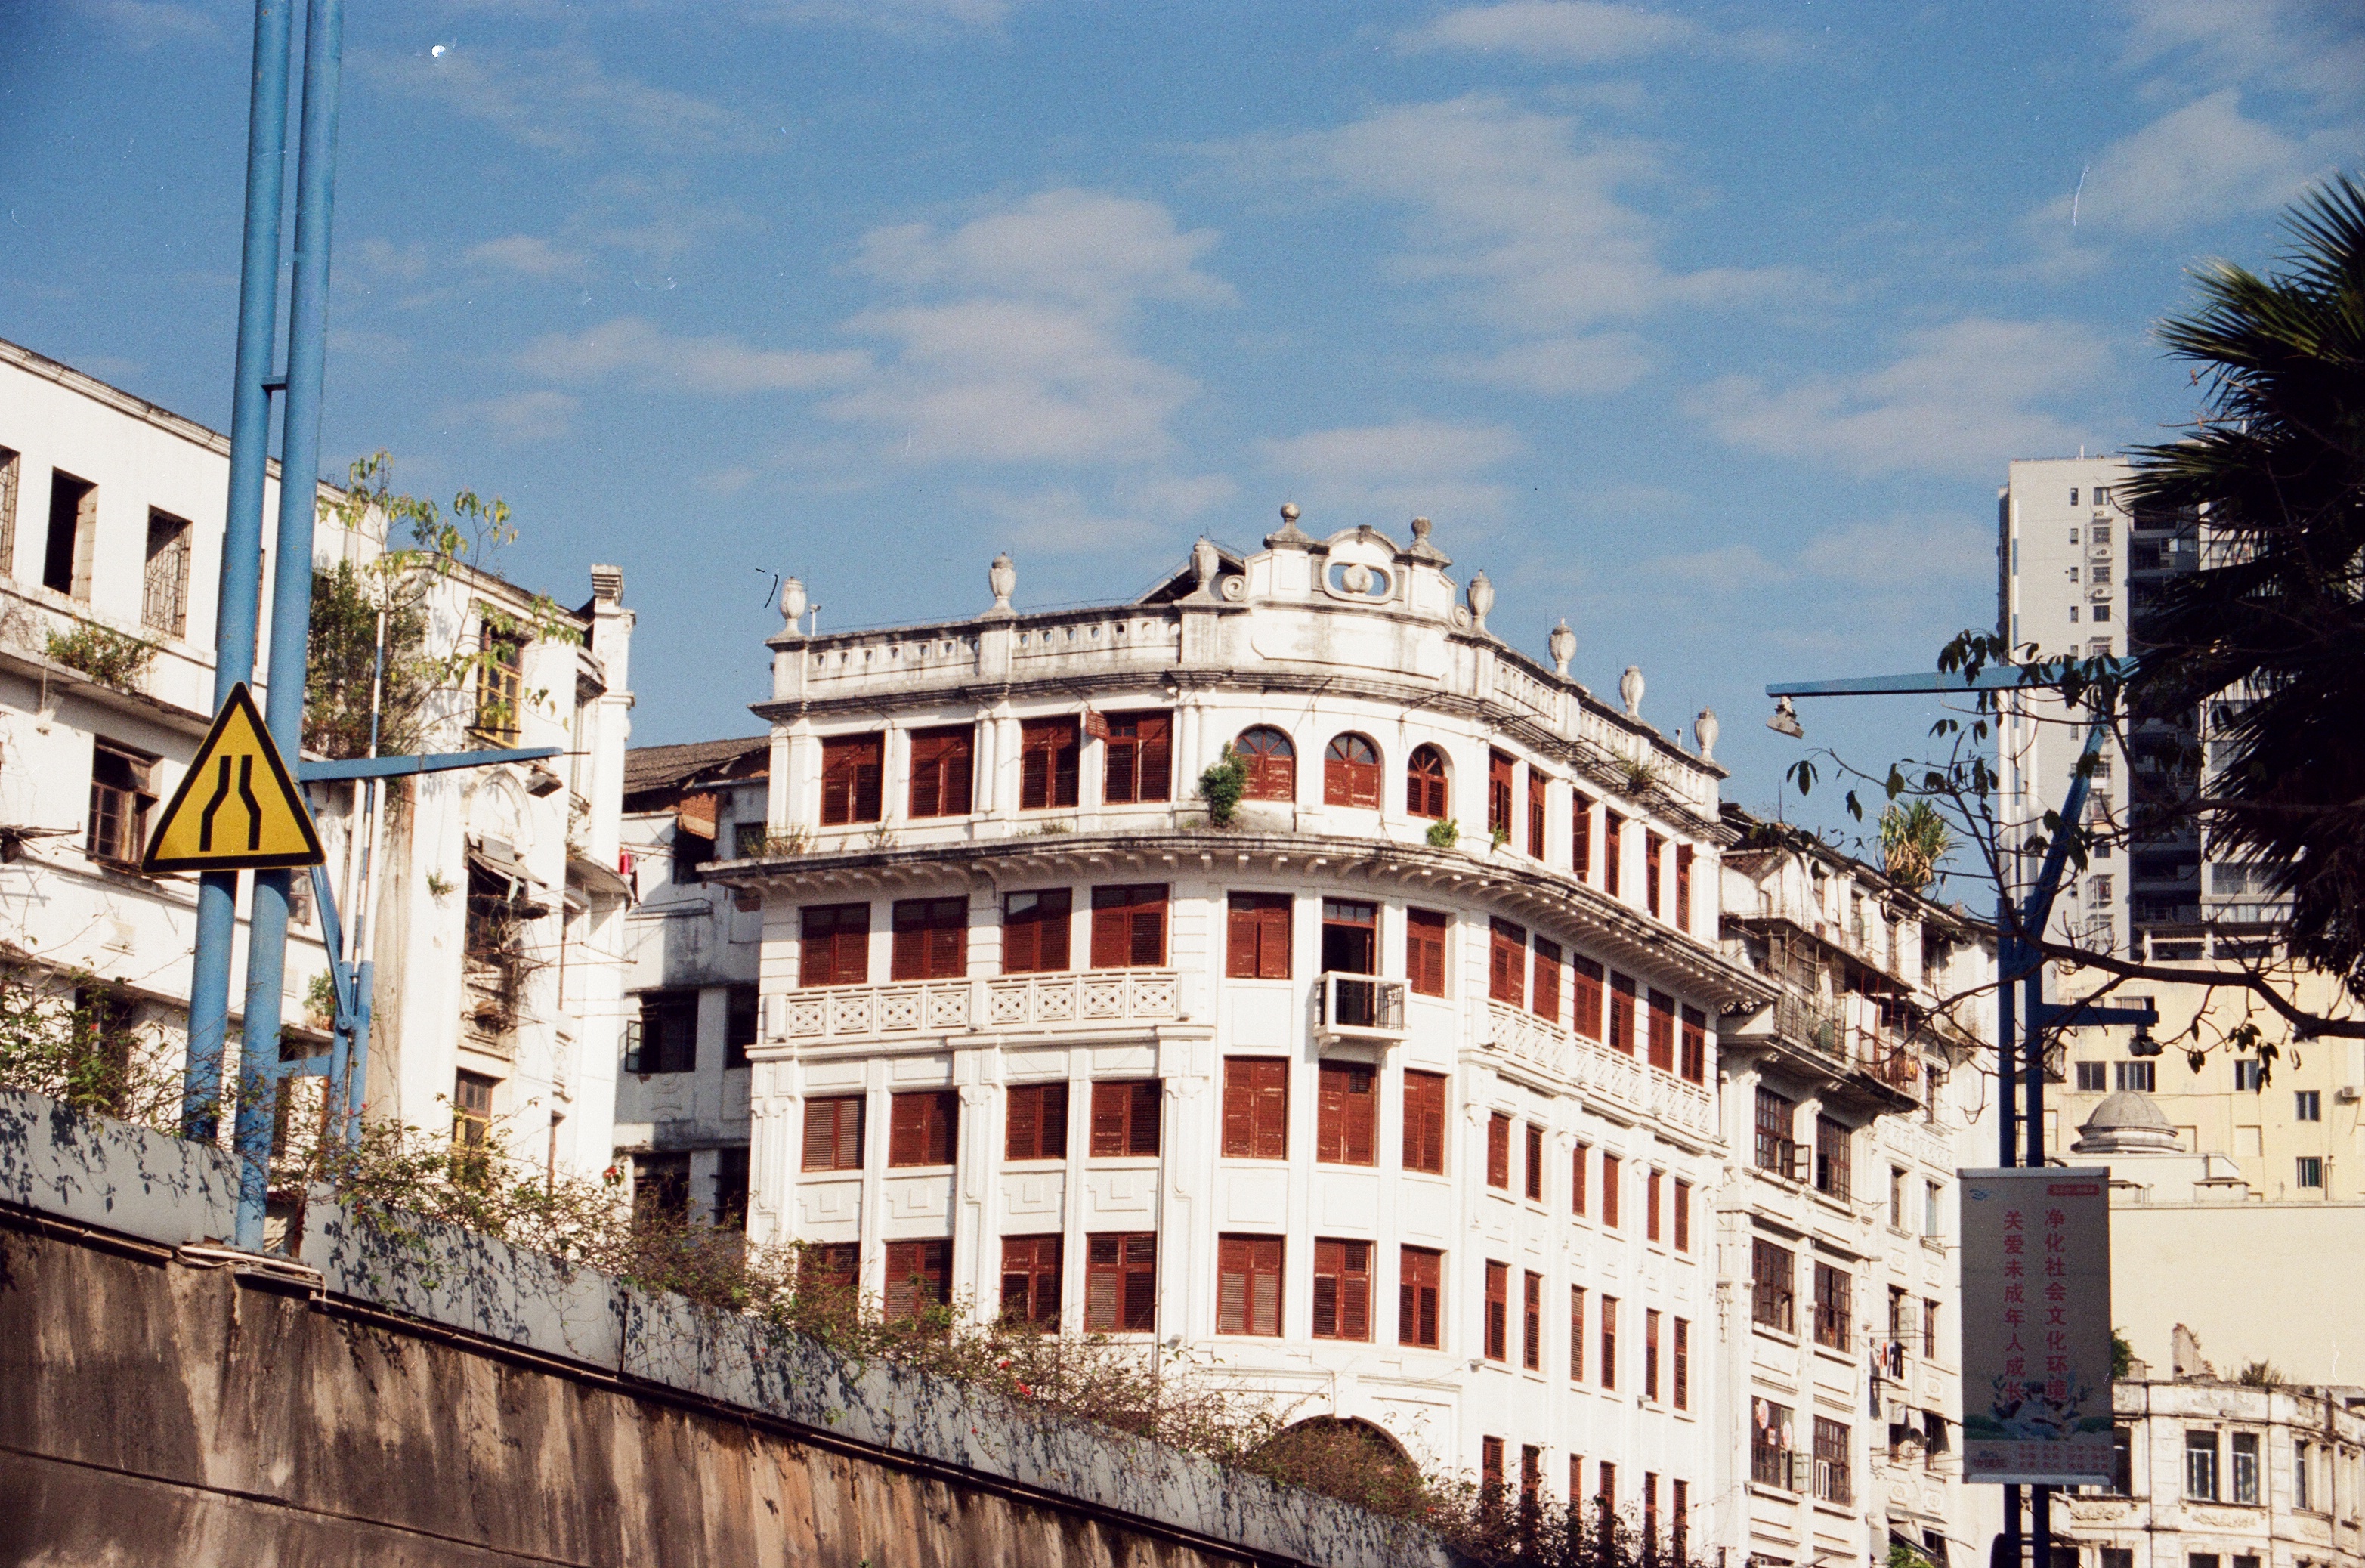
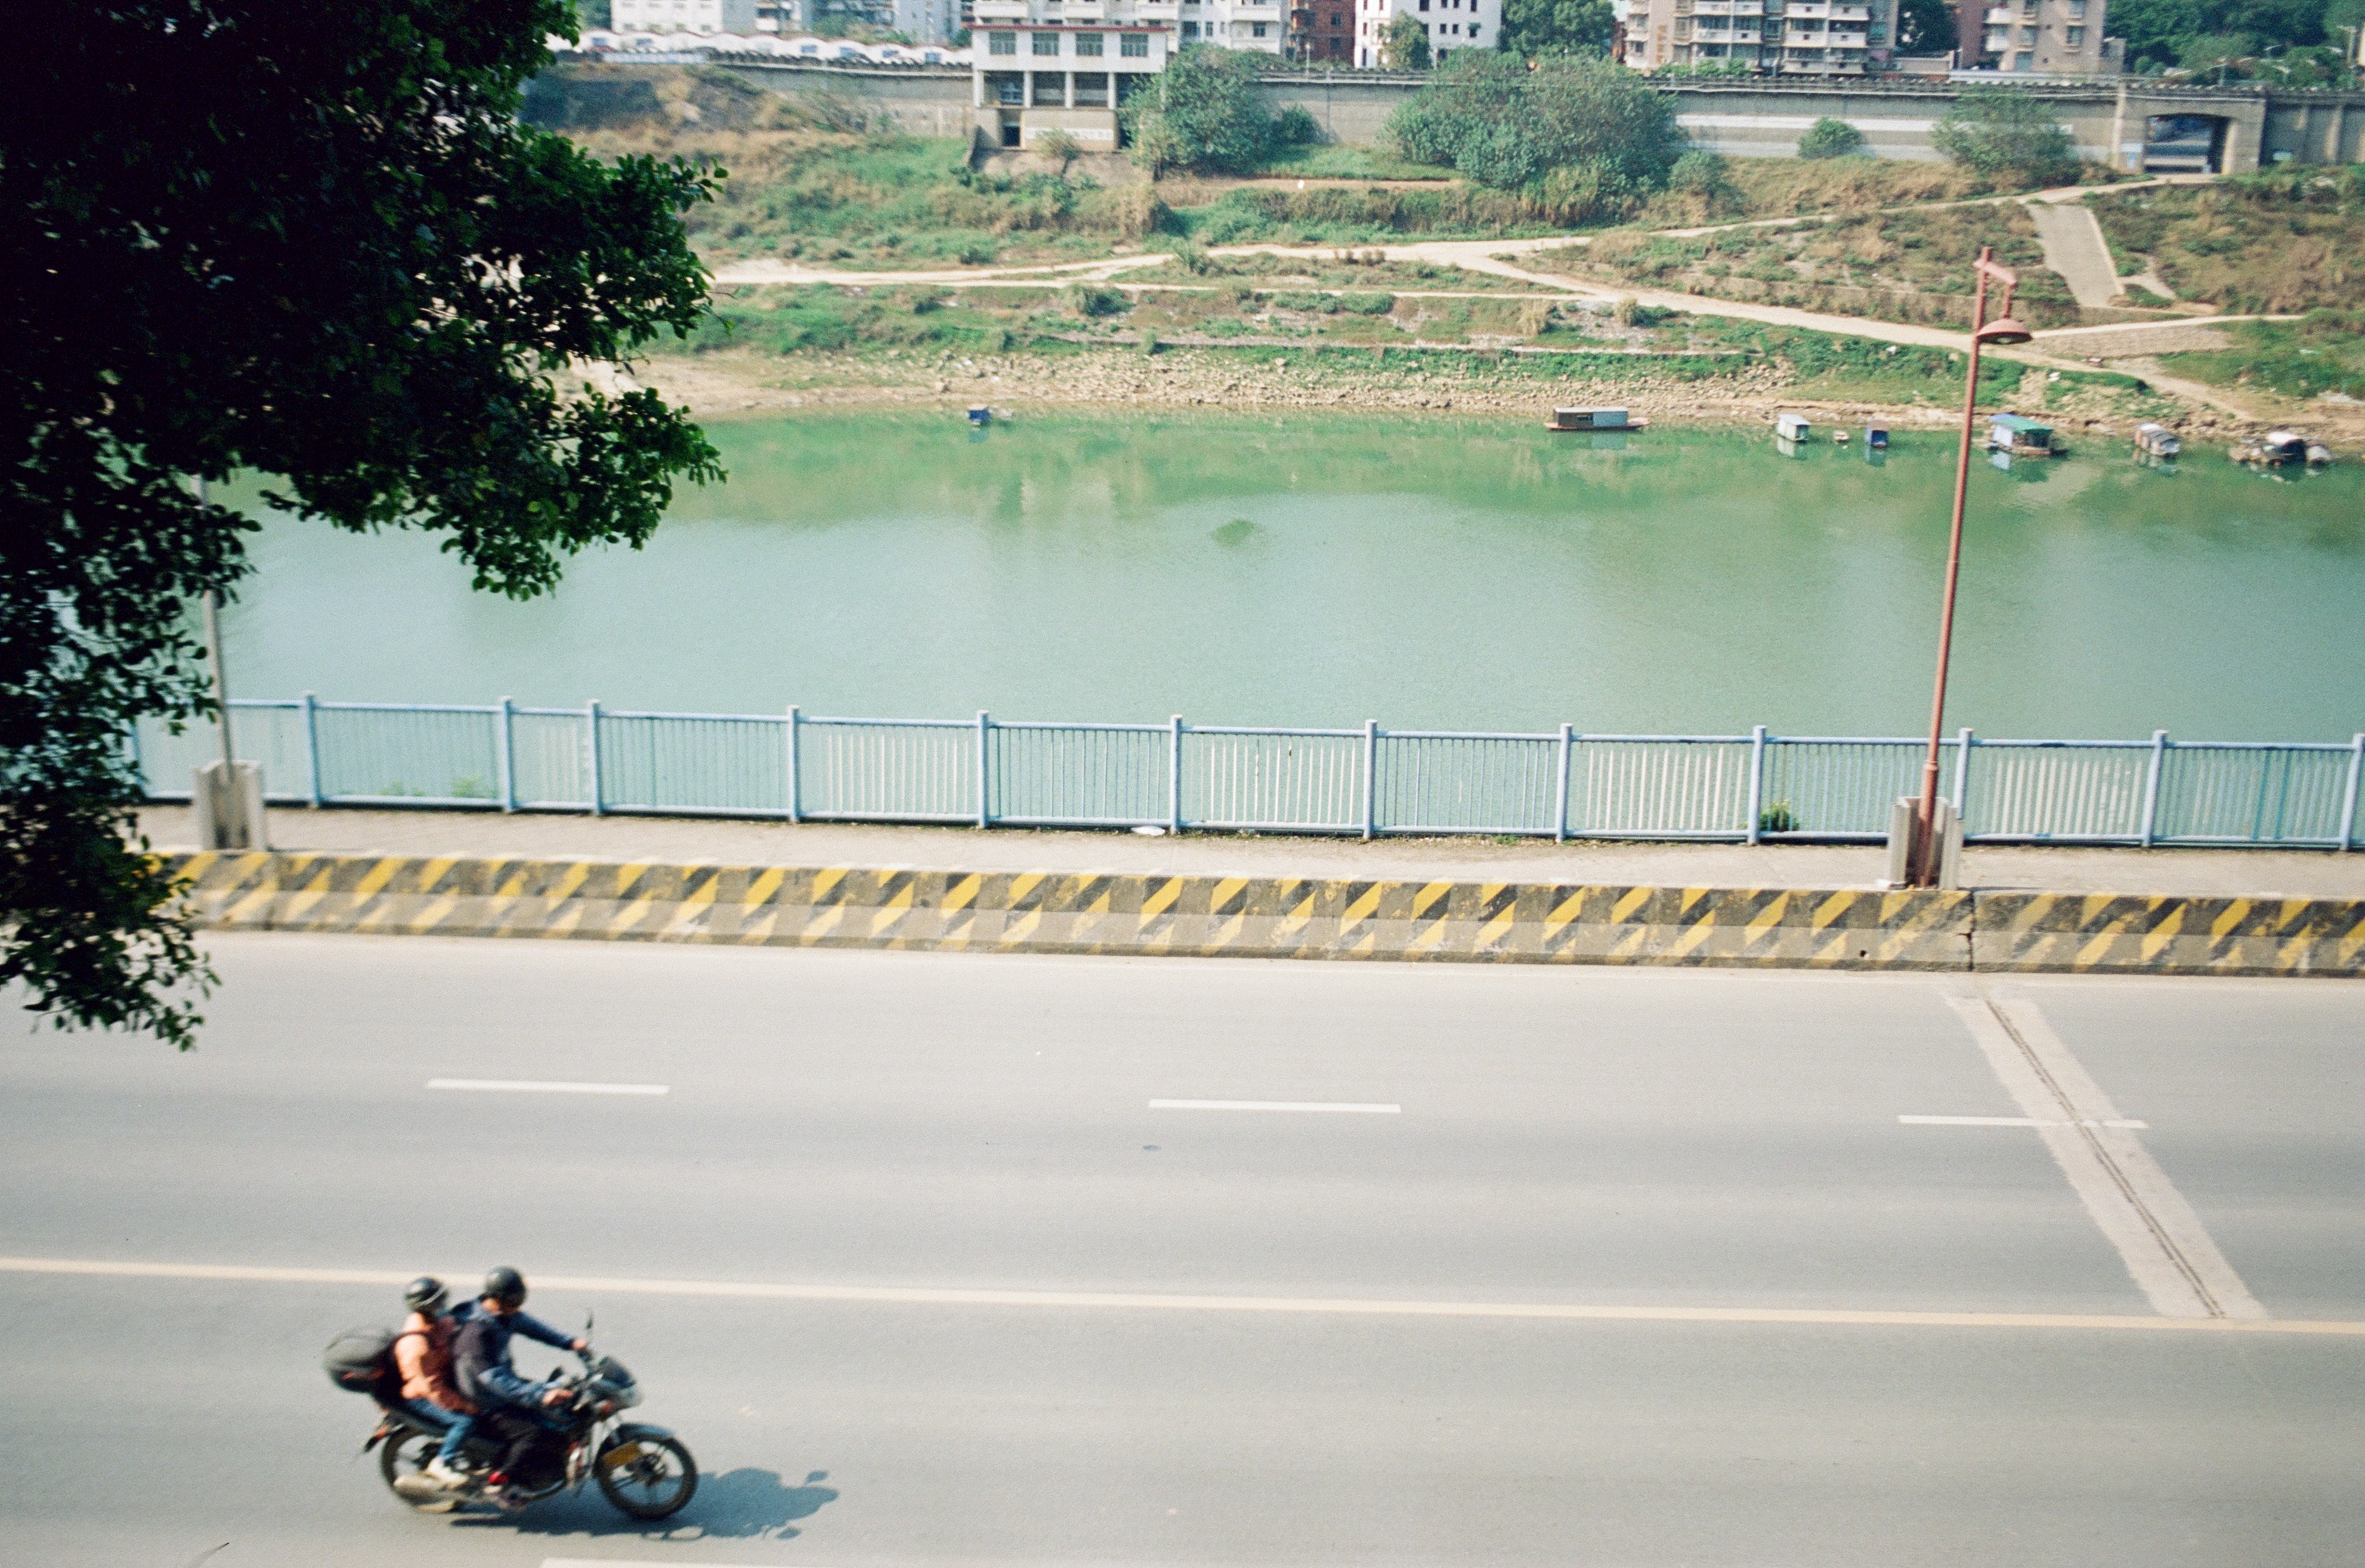
这张图我觉得很棒噢,当时很顺利地抓拍了,其实等车再开过去一些些会好很多呢。
最后想说的是,我最近有在尝试自己冲洗黑白胶卷噢,听起来是挺复杂的,但是实际做起来非常的简单,而且特别有成就感,但就不在这篇文章叙述多言了,之后会再写一篇的。
(完)